Topics Map > Service Catalog > Communications and collaboration services > Cloud storage
Topics Map > Service Catalog > Communications and collaboration services > Collaborative workspace
SharePoint: Creating and Using Calendars
This document walks SharePoint users though the creation and sharing of a SharePoint Calendar. SharePoint calendars can be edited in the browser or within Outlook. These are great for public-facing calendars such as office hours or lab schedules.
Creating a SharePoint Calendar
- To create a SharePoint Calendar, you will need to have edit permissions for a SharePoint site. If you need help creating or managing SharePoint permissions, please contact the Technology Help Desk.
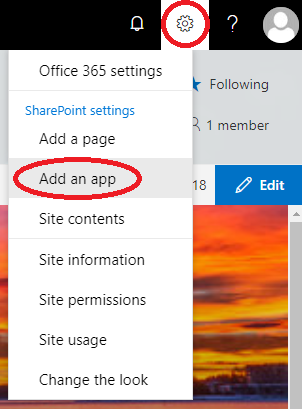
- Once you are on the SharePoint site that you are adding the calendar to, click the Settings icon (gear icon) in the top right and select Add an App.
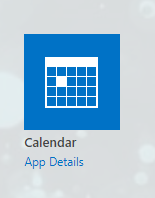
- You will be presented with a list of apps that you can add. Scroll down and select Calendar.
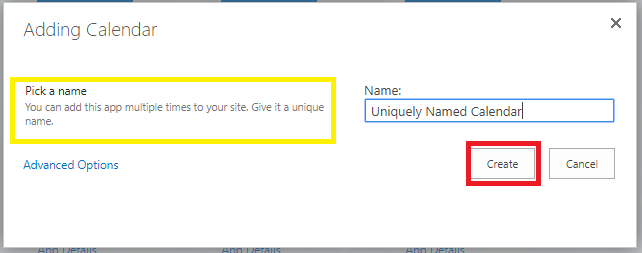
- Name your calendar. Please note the message given about naming your calendar. Please give it a unique name, it will be beneficial if you need multiple calendars to be housed on your SharePoint site.
- Select Create.
- You will be redirected to the Site Contents page. This is where your Calendar will live on your SharePoint.
Making the Calendar Find-able
It can be difficult for users to locate a SharePoint calendar if it is left in the Site Contents page. However, it's easy to make the calendar find-able by adding it to the site's quick launch pane.
- Go to the Site Contents page.
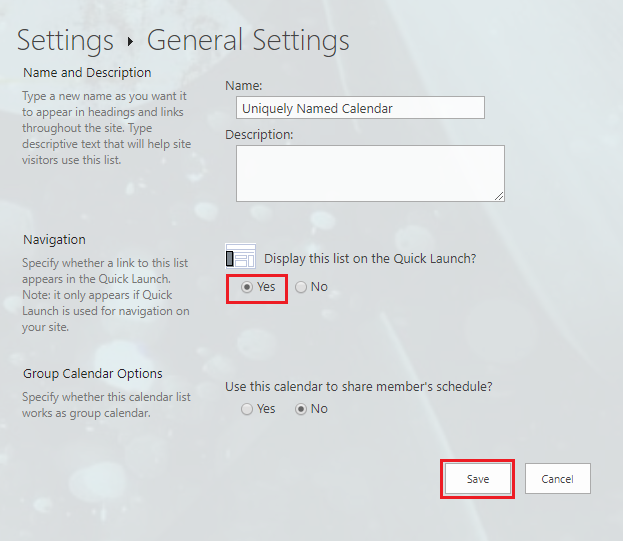
- Hover over the calendar you'd like to make visible, click the 3 dots icon, and select Settings.
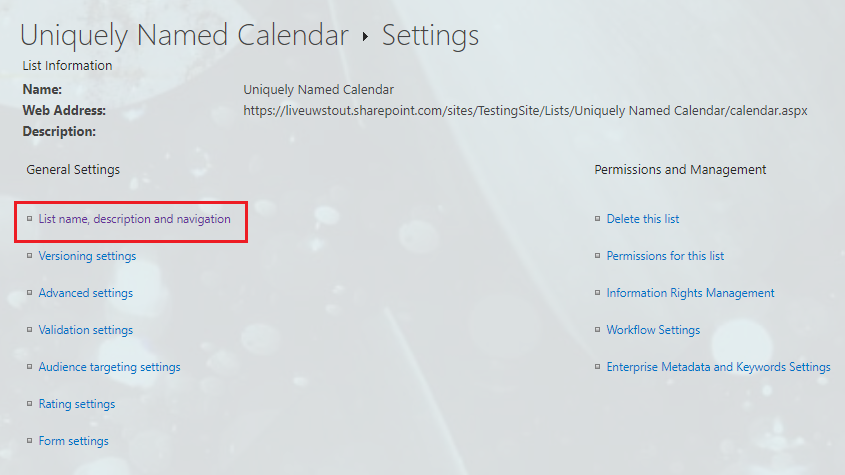
- Select List name, description, and navigation.
- Under the option Display this list on the Quick Lunch? select Yes. Remember to Save your changes.
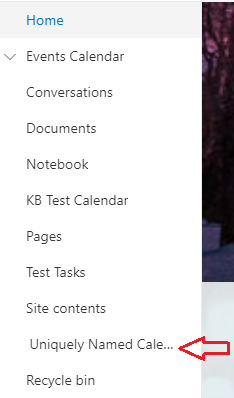
- When you navigate back to the site's homepage, you will now see the calendar in the quick launch.
Setting Calendar Permissions
Calendars can be given settings to grant read and write access to the calendar. By default, calendars will inherit their read/write access from the SharePoint site. If you need any assistance in changing these permissions, please contact the Technology Help Desk.
Editing the Calendar
Editing the Calendar
Calendar editing in SharePoint works very similar to calendar editing in Outlook. Note: Only those with the proper permissions can edit the calendar. For assistance with these permissions please contact the Technology Help Desk.
- Select the calendar you'd like to edit from the quick launch pane.
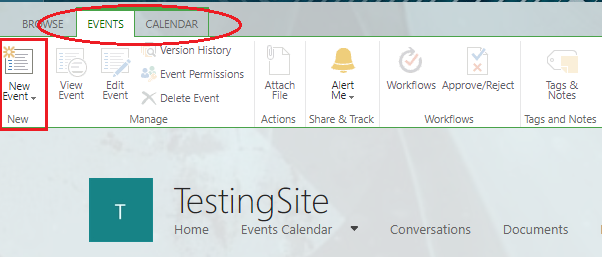
- At the top of the SharePoint page there is a hidden ribbon. Select Events or Calendar to view the ribbon.
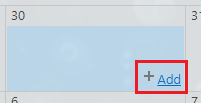
- You can add events using the New Event button on the ribbon or you can select + Add on the day where you'd like to add the event.
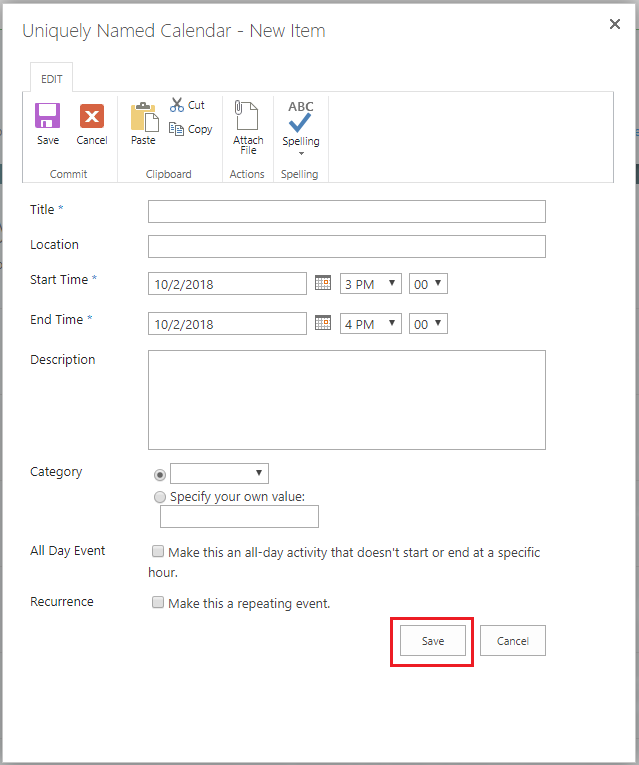
- You will be prompted with an New Item window where you can add important information. Remember to Save!
- Your event will now be on the site's calendar.
Sharing the Calendar
- Select the calendar you'd like to edit from the quick launch pane.
- At the top of the SharePoint page there is a hidden ribbon. Select Calendar to view the ribbon.
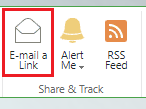
- In the ribbon, select E-mail a Link. This will open a new message in Outlook with a link that you can share with others. Please note that permissions will apply to anyone viewing the calendar. This is simply a sharing link and does not grant these users special privileges.
Viewing the Calendar in Outlook
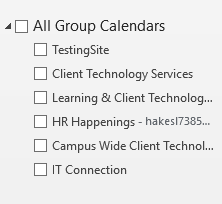
You will notice in the Outlook app that you have a tab for SharePoint groups. However, these new calendars will not appear in Outlook because they are additional group calendars. It is easy to connect these new calendars with your Outlook.
- Select the calendar you'd like to edit from the quick launch pane.
- At the top of the SharePoint page there is a hidden ribbon. Select Calendar to view the ribbon.
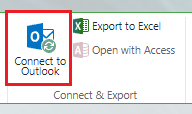
- In the ribbon, select Connect to Outlook.
- If prompted, select Open Outlook.
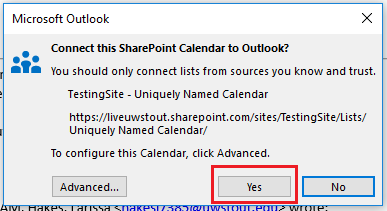
- When asked if you are sure you want to open the calendar, select Yes.
- You can now view and EDIT the calendar in Outlook. Yes, you can add events to the calendar in Outlook and it will sync with the calendar on the SharePoint page.
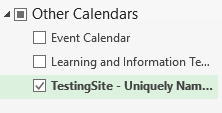
- By default, this new calendar will live under your Other Calendar group and will remain there until you physically remove it.
