Rocketbook Fusion: Setup and Use
How to setup and use the Rocketbook app for the Rocketbook Fusion
This document provides setup and use instructions for the Rocketbook Fusion App
Setup
- Install the Rocketbook app on your device from the device's app store
- Open the Rocketbook app and tap Sign Up > Sign up with Email

- Enter your name in "Name", your school email in "Email", and a unique password in "Password"

- Swipe the sliders to select your birthday.

- Tap Student if you are a student otherwise tap Educator > It was provided by my school.


- The app may prompt you to update. Tap Update to update the Rocketbook app then your account is all setup and ready to go.
Setting Destinations
- Tap the Three Lines in the upper left hand corner of the screen > Tap Destinations.


- Tap the Destination that you would like to change (Rocket, Diamond, Apple, Bell, Clover, Star, or Horseshoe) > tap Change Destination.


- Tap the Destination that you would like to change to
Scanning Rocketbook
- Write in your Rocketbook using the erasable Frixion pen
- Open the Rocketbook app > tap the Camera Icon.

- Hold your phone over the page that you would like to scan.
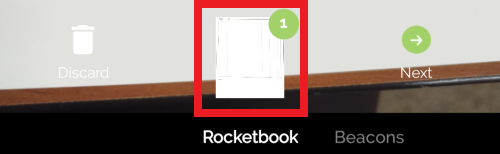
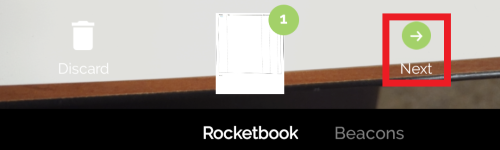
- Tap the Preview page to preview your scan or simply tap the Next button.
- Tap the Destination that you would like to send your document to (Rocket, Diamond, Apple, Bell, Clover, Star, Horseshoe, or Other).

- Tap the Name of your document to rename it, tap New Tag to give it a tag, and tap Done to finish.