On Campus Printing Installation (Mac): Student SOAD Digital Print Lab printer install
How to install the SOAD DLP printers with advanced features
Install Print Drivers
-
- Download the appropriate driver by right-clicking the model number below and selecting "Save Link As." Save the file to your Downloads folder.
- Canon ImagePress C650 APPA_119_ImagePress_1
- Canon ImageRunner C5735 APPA_119_ImageRunner_1
- Once download is completed, navigate to the Downloads folder on your Mac.
- Find the file downloaded above. If the file is zipped, unzip the file and double click the .dmg file.
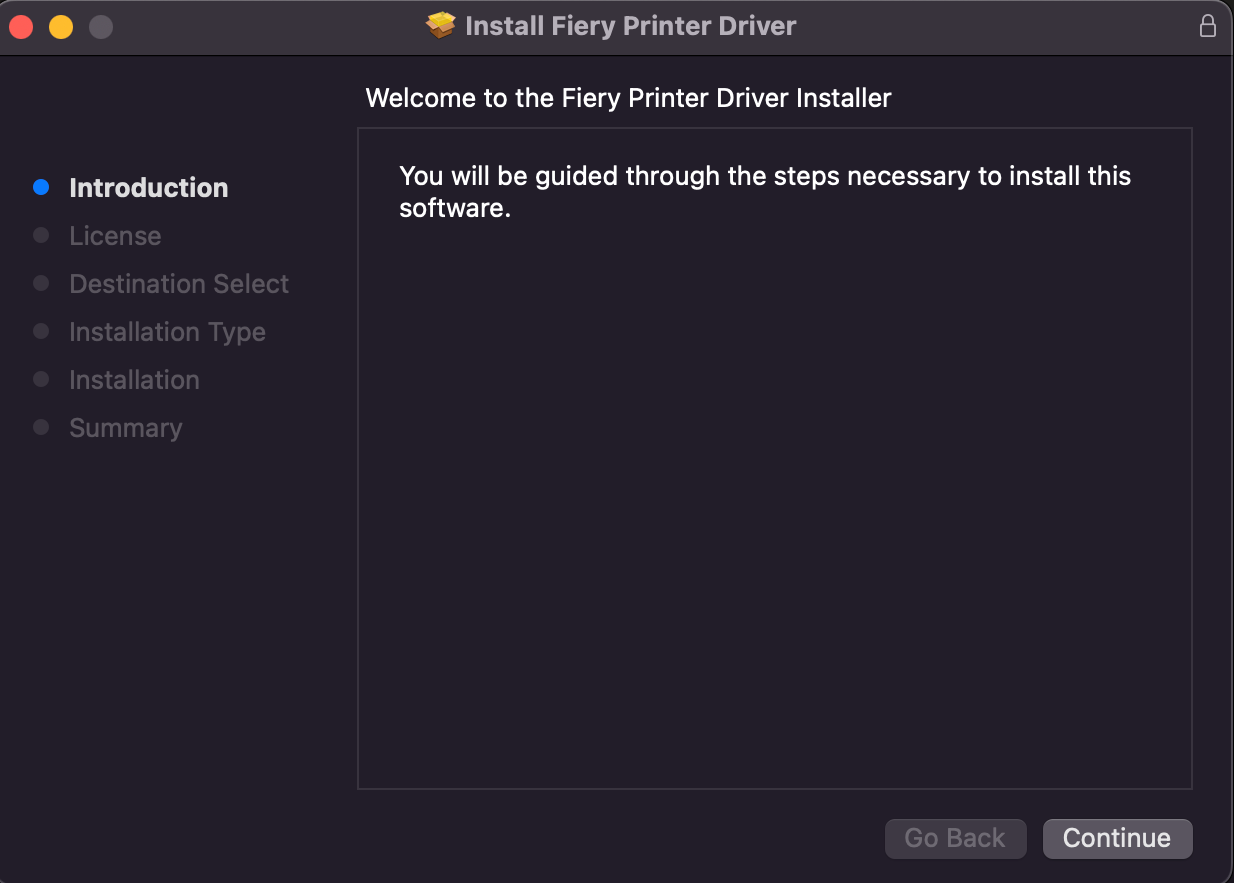
- Double click on the .pkg file to start the install.
- Click Continue.
- Click Continue again for the Software License Agreement.
- Click Agree to the Terms of software license license agreement.
- Click Install .
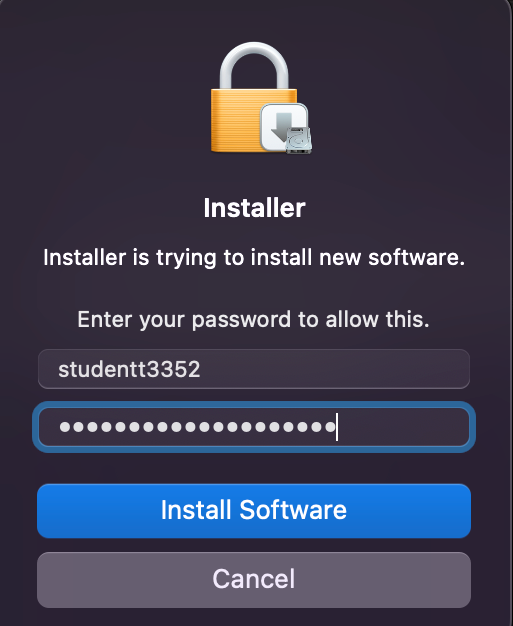
- If prompted, enter your the credential you use to log into your Mac and click Install Software.
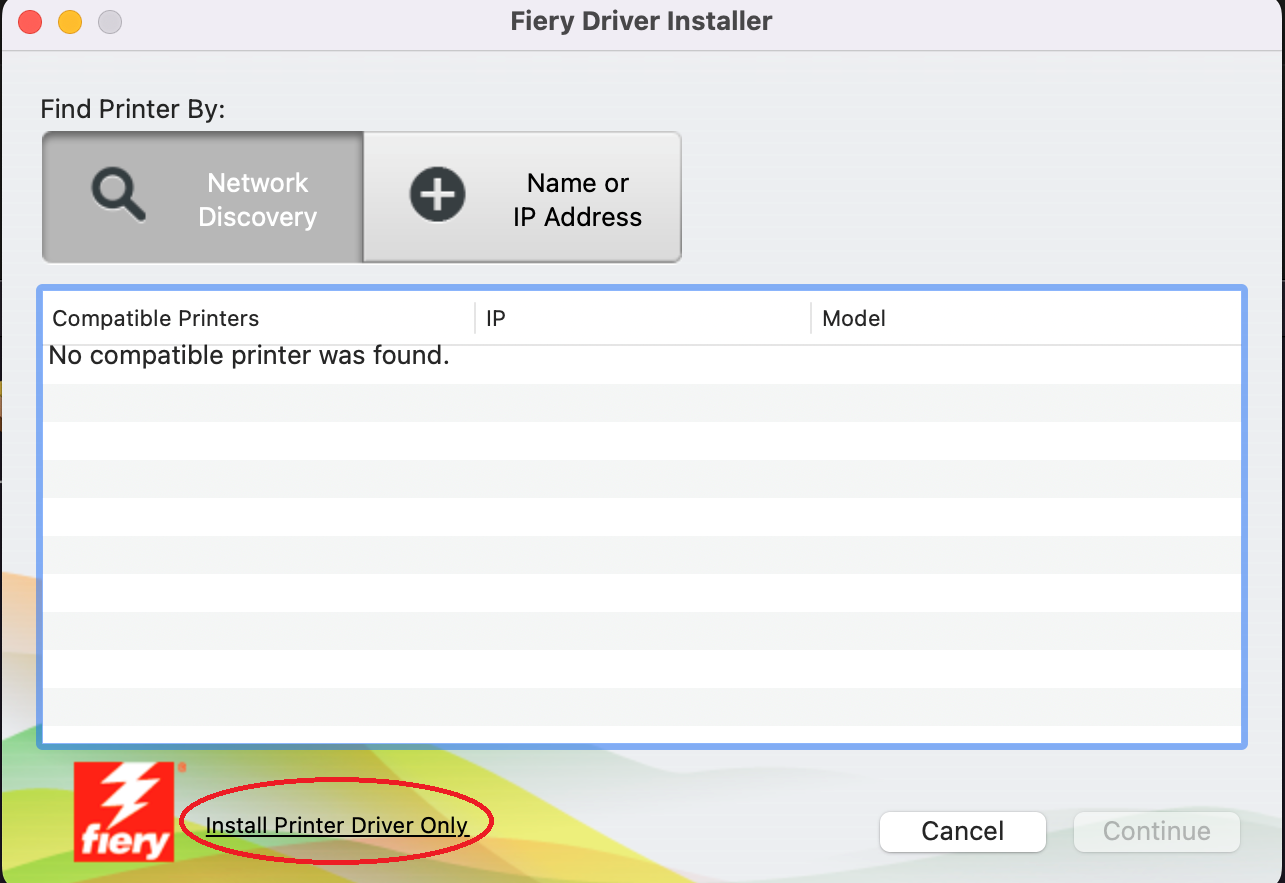
- Click Install Printer Driver Only on the Fiery Drive Installer window.
- Click Continue for driver only prompt.
- Click Close after the driver has been installed successfully.
- Click Move to Trash on the next prompt.
Configure/Install Printer
-
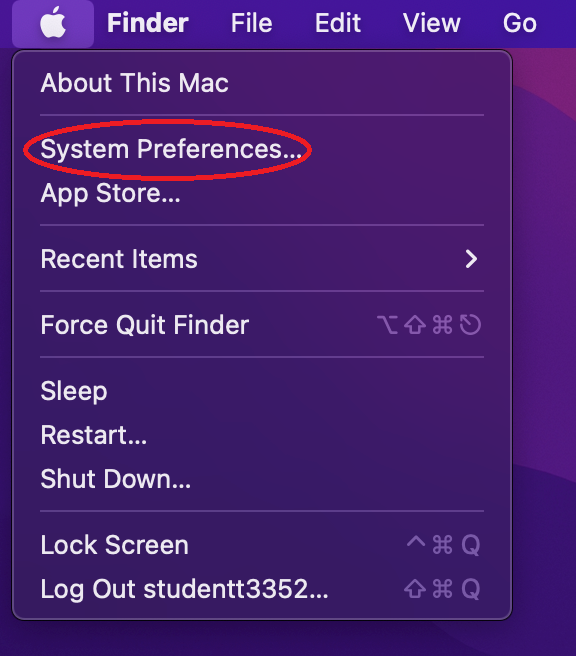
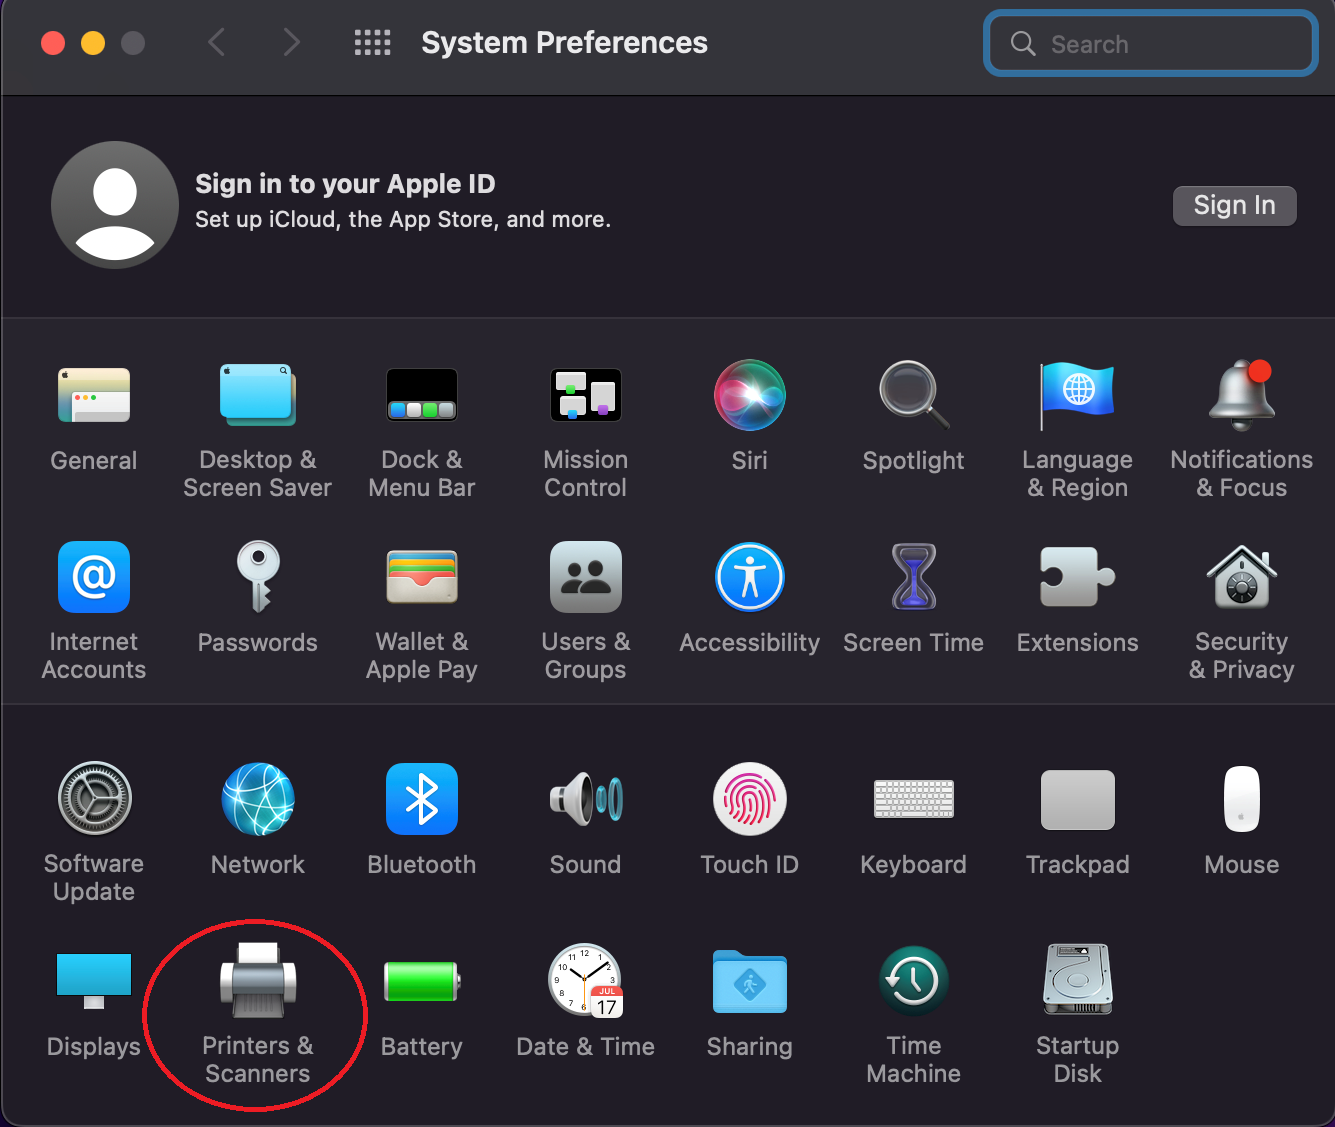
- From the Apple menu, choose System Preferences.
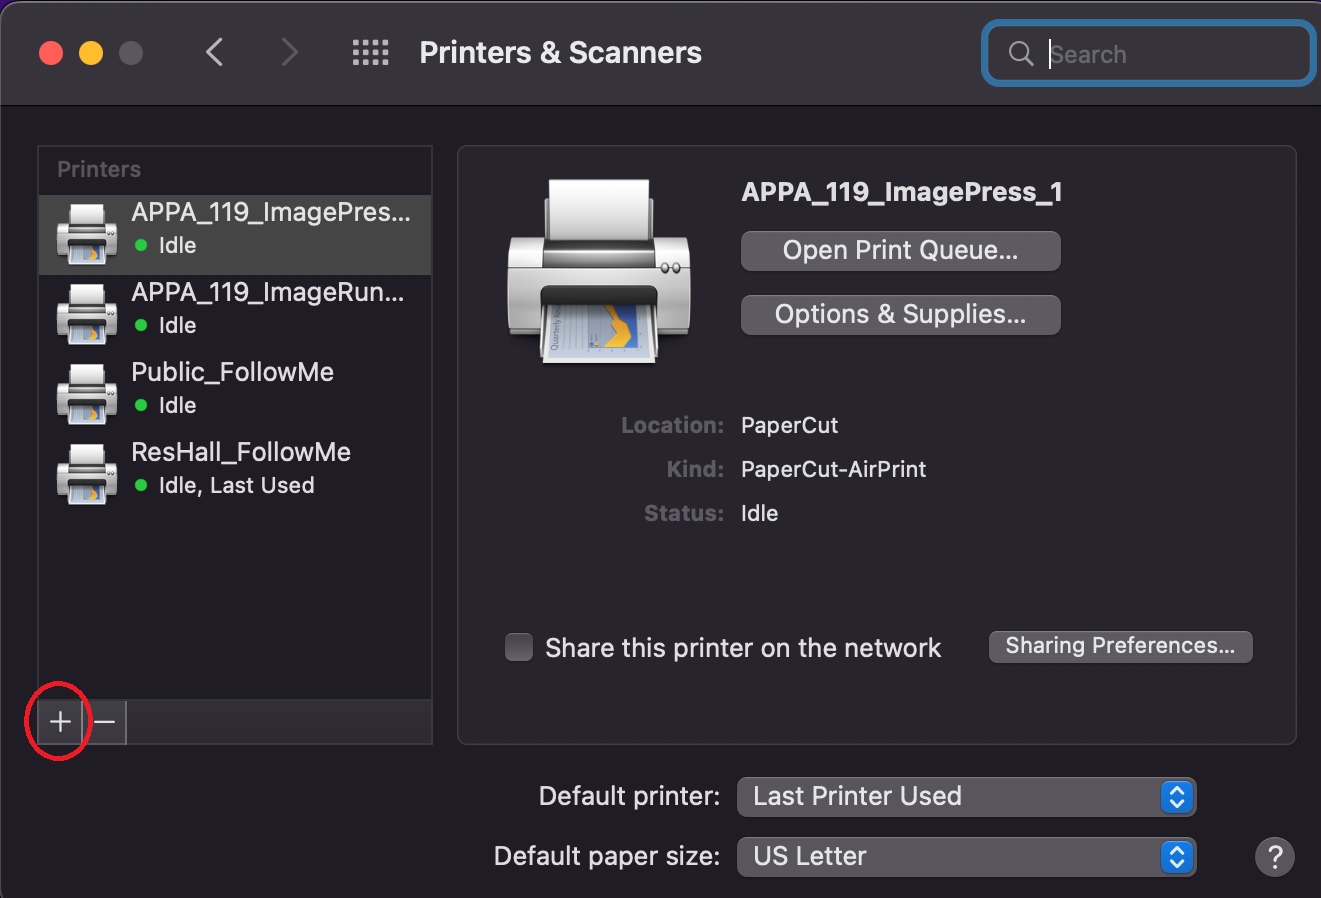
- From the system preferences window, choose Printers & Scanners.
- Click ”+” to add a printer
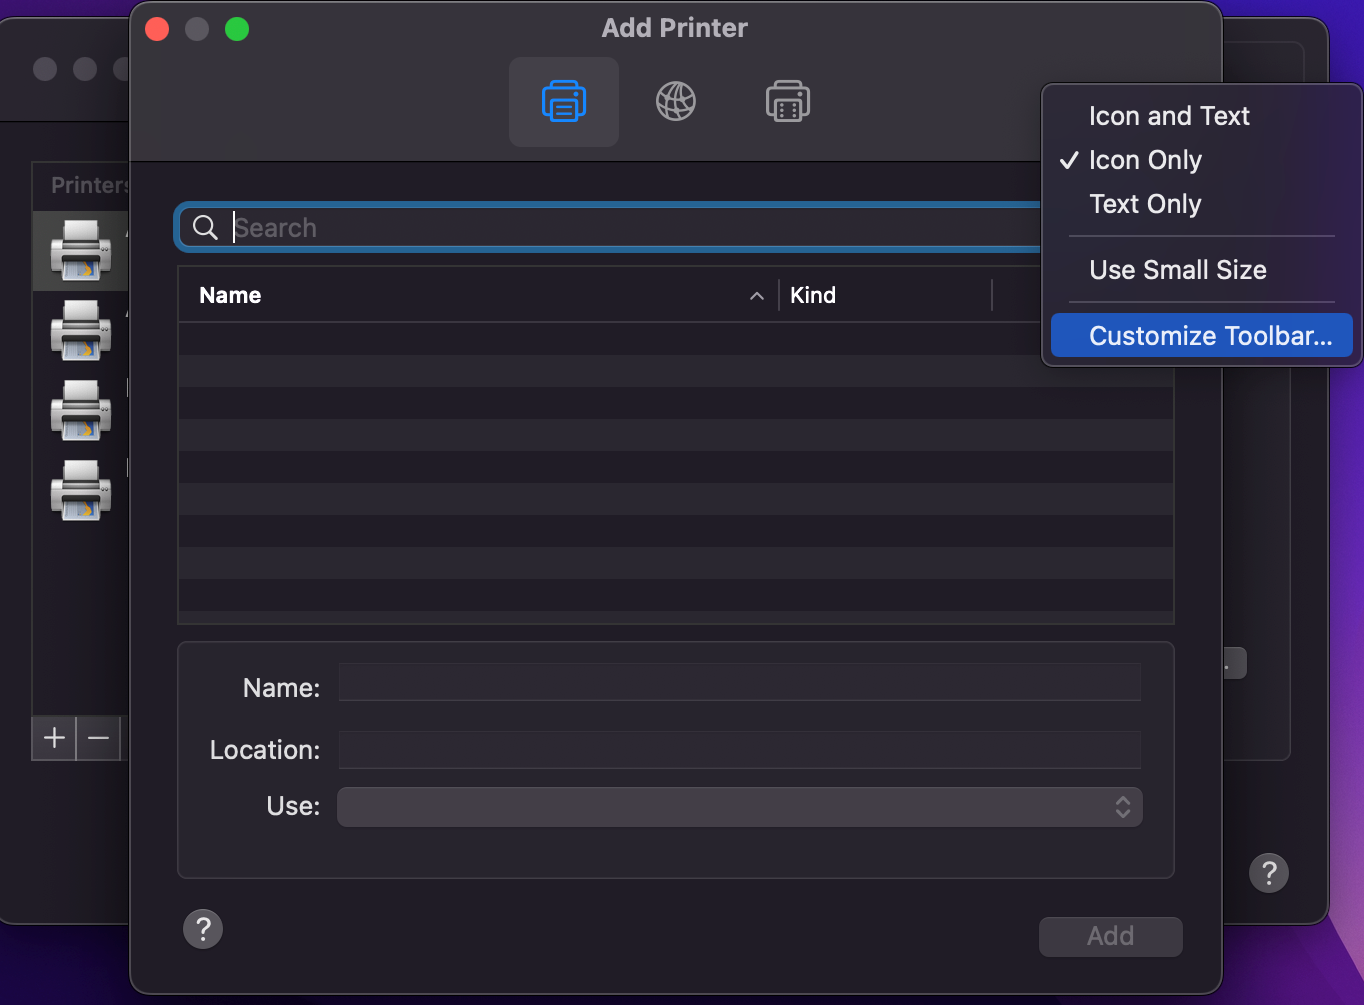
- On the ribbon right-click (control + click) and choose Customize Toolbar.
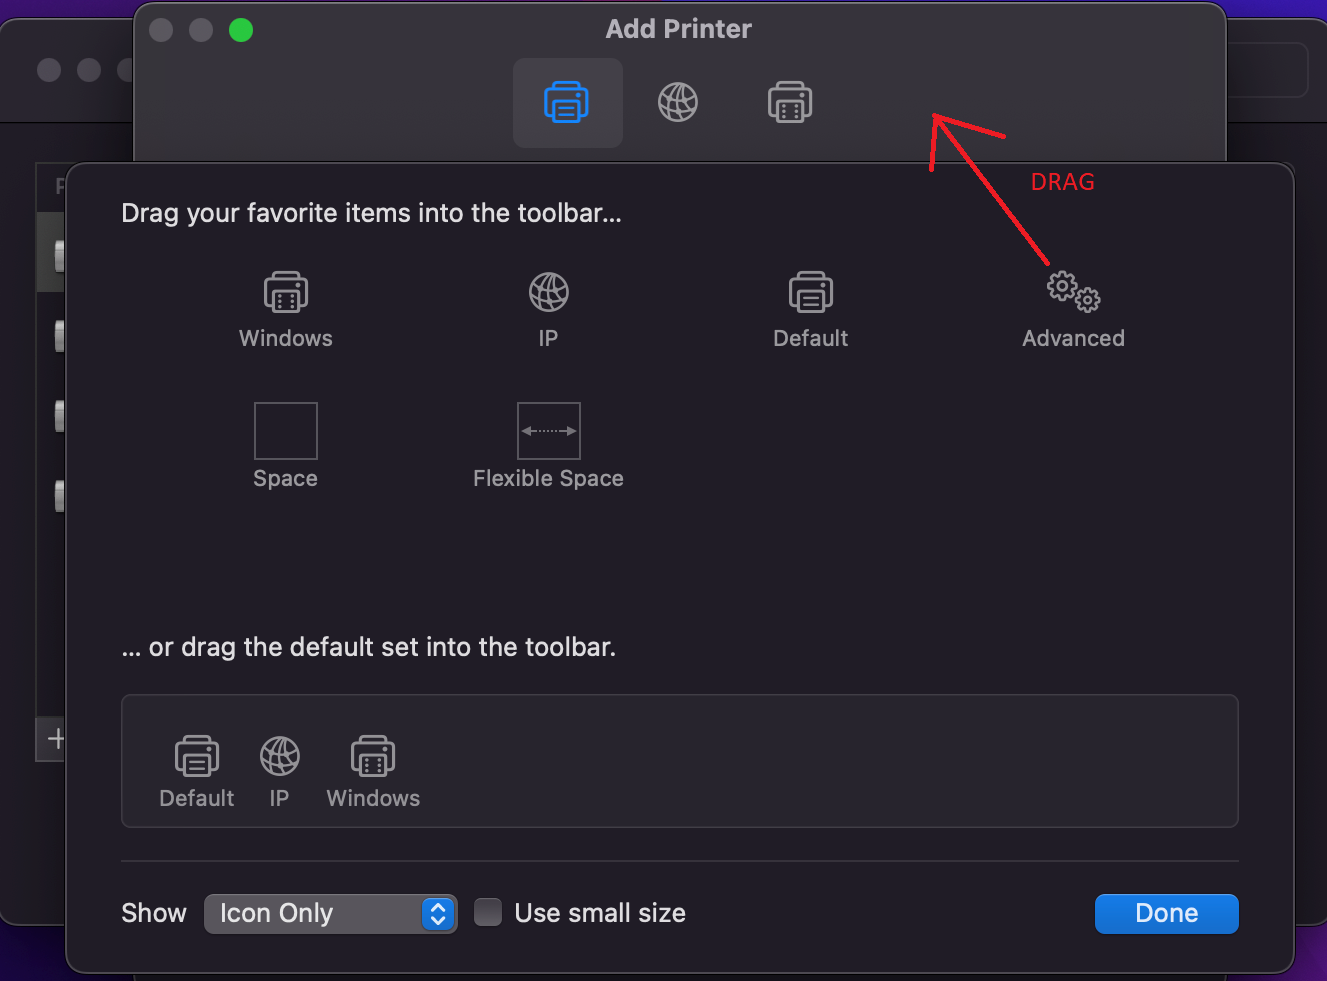
- Drag Advanced Gear icon to ribbon.
- Click Done.
- Click Advanced Gear icon, it will start spinning and searching for printers.
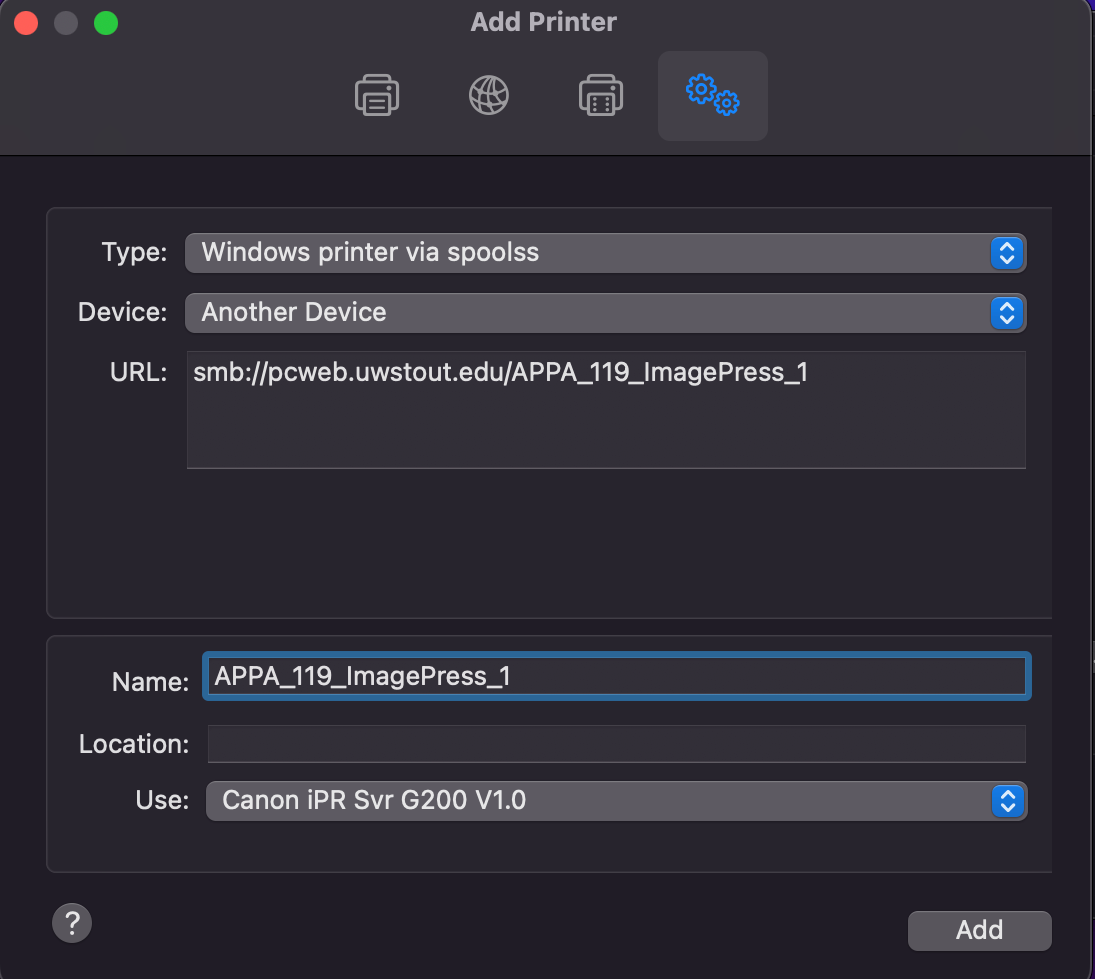
- When the search is complete, in Type drop down menu and choose Windows printer via spools.
- In the URL field enter the network address exactly as shown below.
- Available SOAD printers
Note: If you have updated your OS from Ventura, you may need to add ?encryption=no to the URL
- smb://pcweb.uwstout.edu/APPA_119_ImagePress_1
- smb://pcweb.uwstout.edu/APPA_119_ImageRunner_1
- Available SOAD printers
- From the Apple menu, choose System Preferences.
-
- In the Name field enter the name of the printer exactly as shown below.
- APPA_119_ImagePress_1
- APPA_119_ImageRunner_1
- Put in the location of the printer: Applied Arts 119.
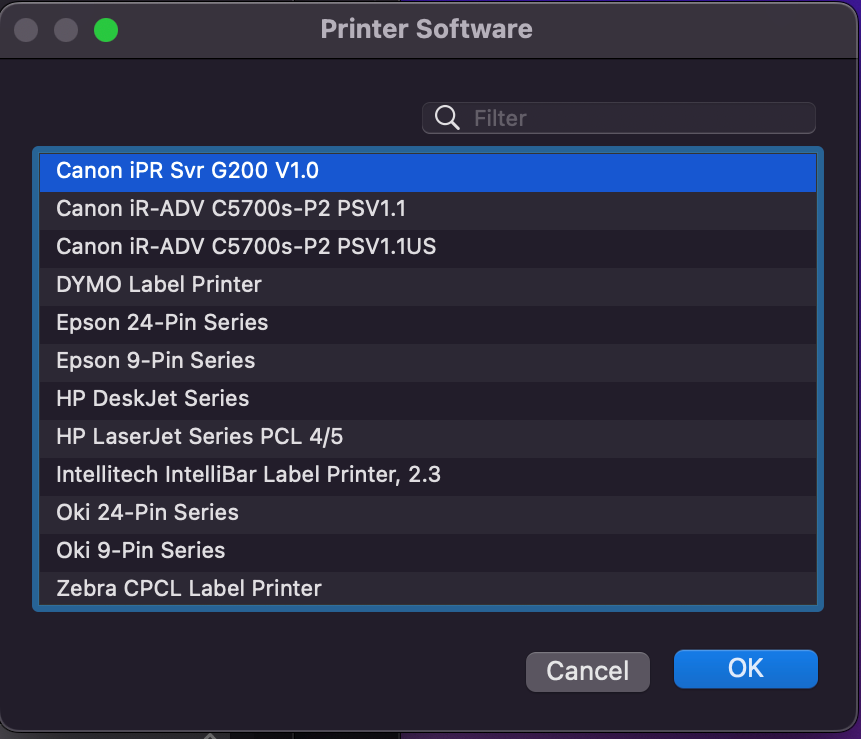
- In Use drop down menu and click Select Software.
- Find the appropriate driver for the printer model from the list which was installed from the Install Print Drivers section above.
- Select Canon iPR Svr G200 V1.0 for APPA_119_ImagePress_1
- Select Canon iR-ADV C5700s-P2 PSV1.1 for APPA_119_ImageRunner_1
- Click OK.
- If settings are correct, a prompt will appear to create new printer. Click Continue.
- Select the available options to install for the printer.
- In the Name field enter the name of the printer exactly as shown below.
Make sure these options are selected or they will not be available during print.
-
-
-
- ImagePress options:
- Stack Bypass
- Booklet Finisher
- ImageRunner options:
- Cassette feeding unit-AM1
- ImagePress options:
-
-
The network printer has been successfully installed. The first time you send a print job, the system will force you to authenticate.
-
- Enter your UW-Stout username and password using the below format for your username. Select Remember this password in my Keychain.
- Username format: uwstout-mail\[username]