Outlook: Sharing Calendars
This guide will overview both Mac and Windows options to share calendars within Outlook.
Windows
Sharing Your Calendar
- From your calendar folder, on the home menu, select share calendar.

- Choose the calendar you want to share from the drop-down menu.
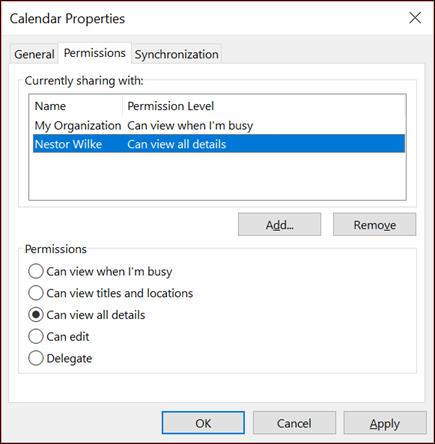
- In the Calendar Properties dialog box, click Add.
- You can search for people from your address book or type in their email address in the field next to Add at the bottom of the box . When you're done adding names in the Add Users dialog box, click OK.
- Back in the Calendar Properties dialog box, select the person's name or email address, then choose the level of details that you want to share with the person, then click OK.
- The person you've shared your calendar with will receive a sharing invitation by email.
- Once the recipient clicks Accept, they'll see your shared calendar in their calendar list.
Removing Permissions
- Click Calendar.

- Click Folder > Calendar Properties.

- On the Permissions tab, click the user's name and then choose Remove.

- Click OK.
Opening a Shared Calendar
If you do not see a shared Calendar, please follow these steps.
- In the top navigation bar click Add Calendar > Open Shared Calendar.

- In the box that opens up, type in the person's name and select OK.

- If there are multiple people by that name, a secondary box will open. In that box, highlight the correct name and click OK.
- You should now have two calendars on your screen, your calendar and the shared calendar.
- For convenience, you can select the arrow next to the shared calendar to nest it behind yours.
Sharing Your Calendar on a Mac
(this article was originally available through a Microsoft Support page)
- At the bottom of the navigation pane, select the Calendar icon.

- Select the calendar you want to share.
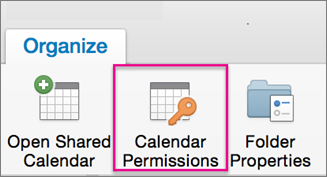
- On the Organize tab, choose Calendar Permissions.
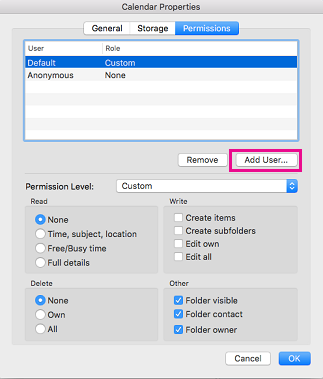
- In the Calendar Properties box, choose Add User.
- In the search box, enter the name of the person you want to share your calendar with.
- When you see their name appear in the list, select it and then choose Add.
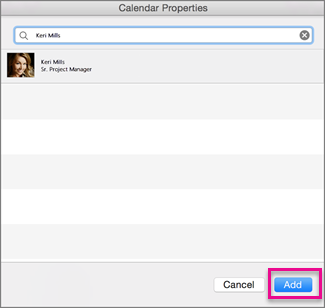
- In the calendar properties box, select the Permission Level down arrow, and choose the permission level to assign to the person you added. (Note that the settings for Read, Write, Delete, and Other options change based on the permission level you choose)

- Check the boxes that apply in the Read, Write, Delete, and Other sections, and then select OK.
Mac: Removing Permissions
(this article was originally available through a Microsoft Support page)
- At the bottom of the navigation pane, select the Calendar icon.
- Select the calendar you want to remove their permissions from.
- On the Organize tab, choose Calendar Permissions.

- In the Calendar Properties box, choose Remove, then OK.
Mac: Opening a Shared Calendar
(this article was originally available through a Microsoft Support page)
- At the bottom of the navigation bar, click Calendar.

- On the Organize tab, click Open Shared Calendar.
- In the search box, type the name of the person who has granted you access to their calendar, and press enter.
- Select their name, and click Open.

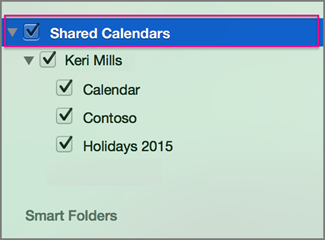
- The shared folder will appear in the left navigation page under the Shared Calendars heading with the person's name who shared the calendar below it.
