Formatting External Hard Drives
How to reformat external hard drives or flash drives for Windows and Mac
Windows:
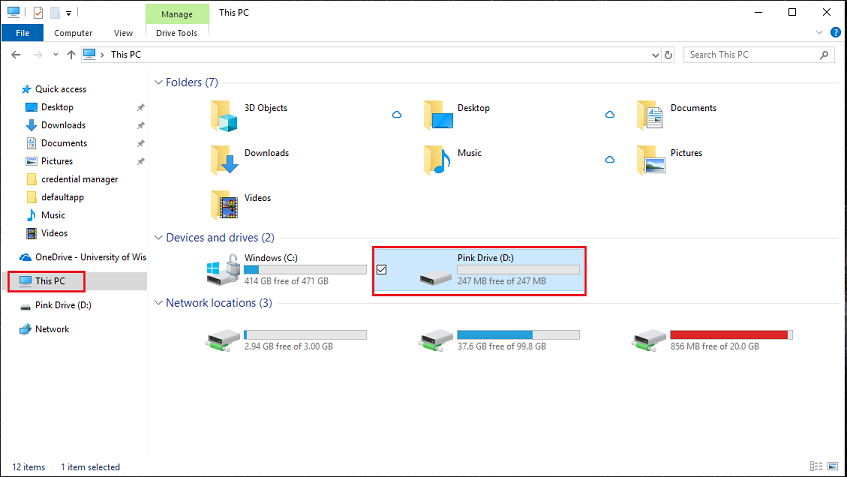
- Open the File Explorer and navigate to the drive you would like to format.
- Right-click and select Format.

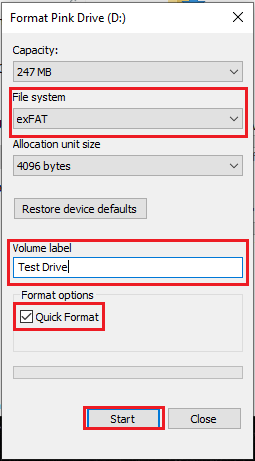
- You will be given options of how you would like the drive formatted. The important options are: File System, Volume Label, and Format Options.
Click here to learn more about file system options.
The volume label is the name of your drive. You can rename it as you'd like. - Format options refers to if you'd like a Quick Format.
A quick format will run the format as quickly as possible.
Deselecting quick format will make the format run much slower (up to several hours for a large drive) but it does so because it is overwriting the previous data. Most users do not have a reason to run a long format but there is the option to do so. - Once your options are set, click Start.
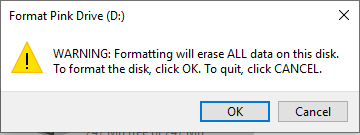
- Click OK to acknowledge the warning.
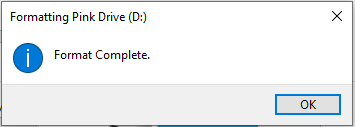
- Allow the drive to format. Do not unplug or attempt to access the drive until Windows gives you a Format Complete message.
Mac:
- Using the Spotlight Search search for "Disk Utility" and click to open Disk Utility.

- In the Disk Utility window, select the drive you'd like to erase then click Erase.

- You will be given options of how you would like the drive formatted.
Name refers to the name of this drive which can be changed as desired.
Click here to learn more about file system options.
- Security Options allow you to change how you'd like the format to be done. By default, security options are sent to fastest. This quickly formats the drive and is the best option for most users.
If you change the option to most secure then the format will take much longer (up to several hours) depending on the size of the drive. The benefit of this is that the drive is overwritten multiple times, which makes it hard to recover the files that were previously saved there.

- Once you have picked your desired formatting options, select Erase.
- You will be given a status bar to show the progress of the format.

- Do not remove or try to access the drive until it says the process is complete.

| File Type | Description | Mac Compatible | Windows Compatible |
| NTFS | Native file system for Windows. No size limit on files. Can use all the tools and features native to Windows. Supported on all modern Windows systems. |
Read-Only | Fully |
| ExFAT | A newer file system. Files on this drive can be read and written by both Mac and Windows OS. No size limit on files. Supported on Windows XP - current, Mac OS X 10.6.5 - current |
Fully | Fully |
| Mac OS Extended (Journaled) |
Native file system for Mac OS X. No size limit on files. Can use all the tools and features native to Mac OS X. Supported on all modern Mac OS X systems. |
Fully | Read-Only |


