Installing Adobe Creative Cloud Desktop App: Company Portal (Student HP)
Summary: How to install Adobe Creative Cloud Desktop App on Student PCs using the Company Portal.
-
Click on the Company Portal Icon in your Start Menu.

-
Company Portal will open. By default it displays the Home tab. This will show you featured software, as well as the newest software added to the Company Portal.

- To view all available apps, click the Apps tab on the left hand side.

- To install an application, please select the app you want and then click the Install button.

- At this time, the status will switch to downloading. There is no progress bar available, so some patience is required.

- When the install is complete, the status will change to show a check mark and say Installed.

-
Your newly installed software will show up in the Start Menu or on your desktop.


- Open Creative Cloud. Sign in with your full UW-Stout email address.
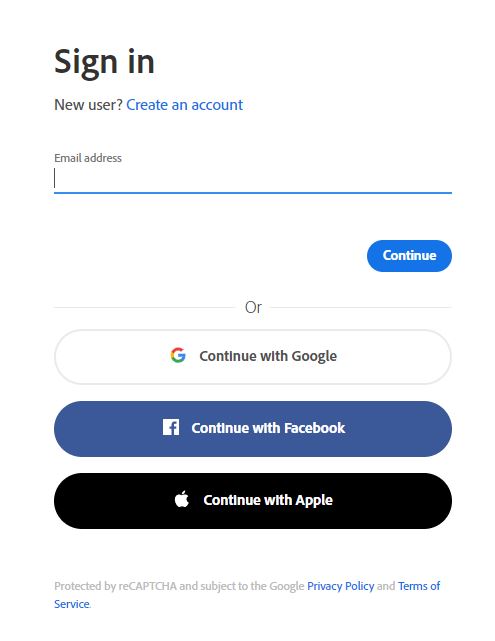
- This will redirect you to the standard Stout Identity Provider login where you will enter your Stout password.

Adobe Creative Cloud Apps
After you install the Adobe Creative Cloud Desktop App, you will need to select and install the specific apps that you need to use. Visit Adobe Creative Cloud Software and Services to view a list of all titles as well as instructions on how to install individual apps.