Installing Adobe Creative Cloud Desktop App: Self Service (Faculty and Staff Apple)
Summary: How to use Self Service to install Adobe Creative Cloud Desktop App on a campus-owned, faculty Apple computer.
- Locate the Self Service app in your Applications folder and double-click it to launch it.

- If asked to sign in, Enter your UW-Stout Username and Password, then click Sign In.

- On the left side of the screen, select Catalog, then select Adobe to locate the Adobe Creative Cloud Desktop App. Click the Install button to the right of the icon and name.

-
If a window with a description of the Application appears, Click the Install button.

-
During installation, you may be asked to elevate using Admin By Request one or more times. This is normal.
-
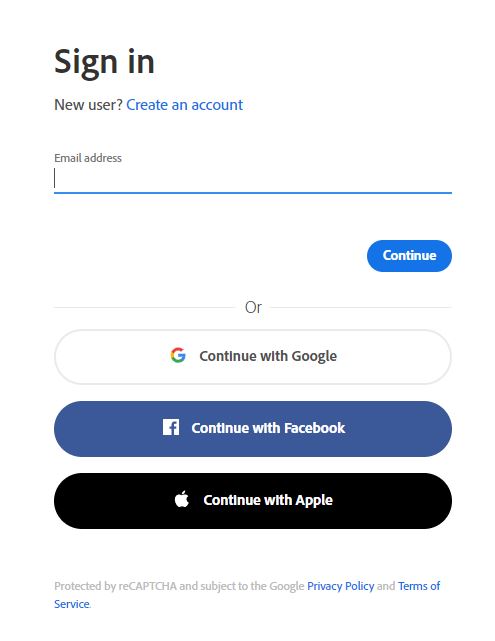
Once the application is installed, open it and sign in with your full UW-Stout email address. Click Continue.
-
This will redirect you to the account selection screen. Click on Company or School Account.

- You will need to sign into Adobe using your UW-Stout Username and Password, then click Sign In. You may also be asked to do a Multi-Factor Authentication.
Adobe Creative Cloud Apps
After you install the Adobe Creative Cloud Desktop App, you will need to select and install the specific apps that you need to use. Visit Adobe Creative Cloud Software and Services to view a list of all titles as well as instructions on how to install individual apps.